Salesforce translation workbench helps in making your application multi-lingual. Not until recently did I realize how important yet cumbersome translations can be. Translations are a project in and of itself, and, if not properly estimated, they can make your project budget go haywire.
In this article, I am going to describe the step-by-step process to work with STF files. It’s not the simple export-import process and don’t let anyone trivialize this important step because one failure or wrong format of the file will ruin your entire import process.
Enable Translation Workbench
Make sure translation workbench is enabled in your Salesforce org. Add the language that you intend to translate to and add the translator, typically an admin who will be doing the export and import.
STF Export
First export your metadata in STF files. This article doesn’t cover XLIF files because of this known issue since the time I started on translations which is last October. See Salesforce known issues.

Choose one of these options. The difference between Outdated and untranslated and Bilingual options is that the former is a subset of the latter. The latter is a complete export of everything of your org – both translated and untranslated appear in the latter list.
There will be a success message on the screen and look for an email from Salesforce with a link to the exported files. The link will take you Salesforce documents from where you download a compressed zipped folder. Download the folder, and extract the contents.
Preparing the Excel File for Translators
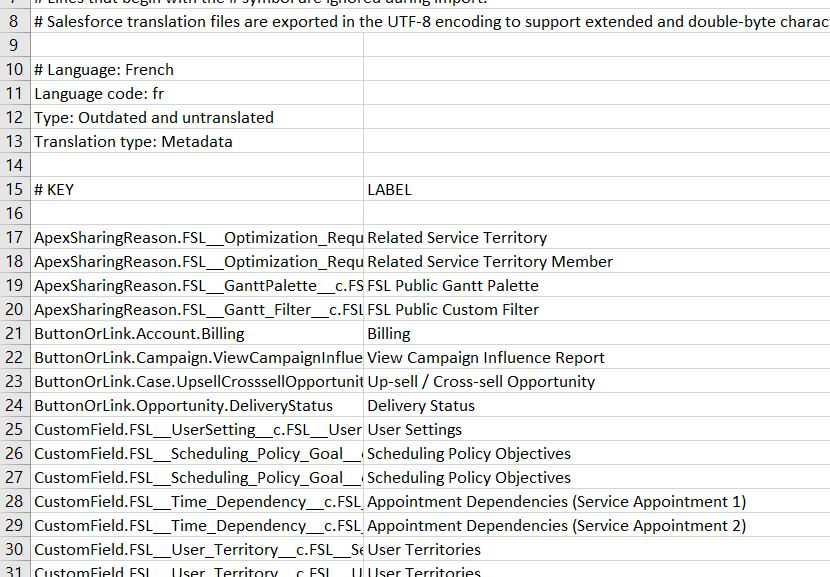
Once you have exported, open the STF file in Excel. The unzipped folder from step two might contain several files. Look for the language you want to translate. For example, a French file will have fr in the file name and a German file will have de in the file name. To open in Excel, Excel > Open > All Files to make sure the STF file is recognized. Next, open in tab-delimited format. Go to the untranslated section of the document and copy the Key # and the LABEL column of the document. Open a brand new Excel and copy-paste this information. Save it as an Excel. At this point, close the STF file as-is. Don’t make any changes.
Send the new Excel file to your translator. Give clear instructions to your translators that the KEY column shouldn’t be touched. It’s the label you want to be translated.
Prepare the Import File
Your translator sends back the Excel with the translated content. When you prepare the STF file for import, you only need two columns, # KEY and LABEL. But your translator might have sent you three – #KEY, LABEL (which will have English content) and the third column will be your translated content. Get rid of the second column in Excel. Copy-paste everything under KEY and the content in the second column. You don’t copy the headers.
- Open the STF file in Notepad++ for Windows users and Sublime for Mac users.
- Get rid of all the content under # KEY and LABEL headers. Paste the information that you copied from the translator’s file. Do a spot check to see if the accents have come over correctly. I’ve noticed in Sublime that the long hyphen comes with a character <ax04> or something of that sort. Then you’d have to find and replace such characters, but this is a gotcha you need to be aware of.
- Save the STF file with all the translated content.
- Go to Set up > Import > Upload your file
Watch your email for results!!
Important Notes
1. It’s all or nothing: If a single row fails, the entire file is rejected. So, make sure you get rid of failed lines. Here’s a guide that explains some of the common errors. Some of the errors I encountered were:
— If the field label is greater than 40 characters. French tends to be long. Imagine a pet in English translates to animal de compagnie in French!!
— If there are two instances of the same # KEY in the same file or if you are trying to upload the same translation for a # KEY that already exists in your org.
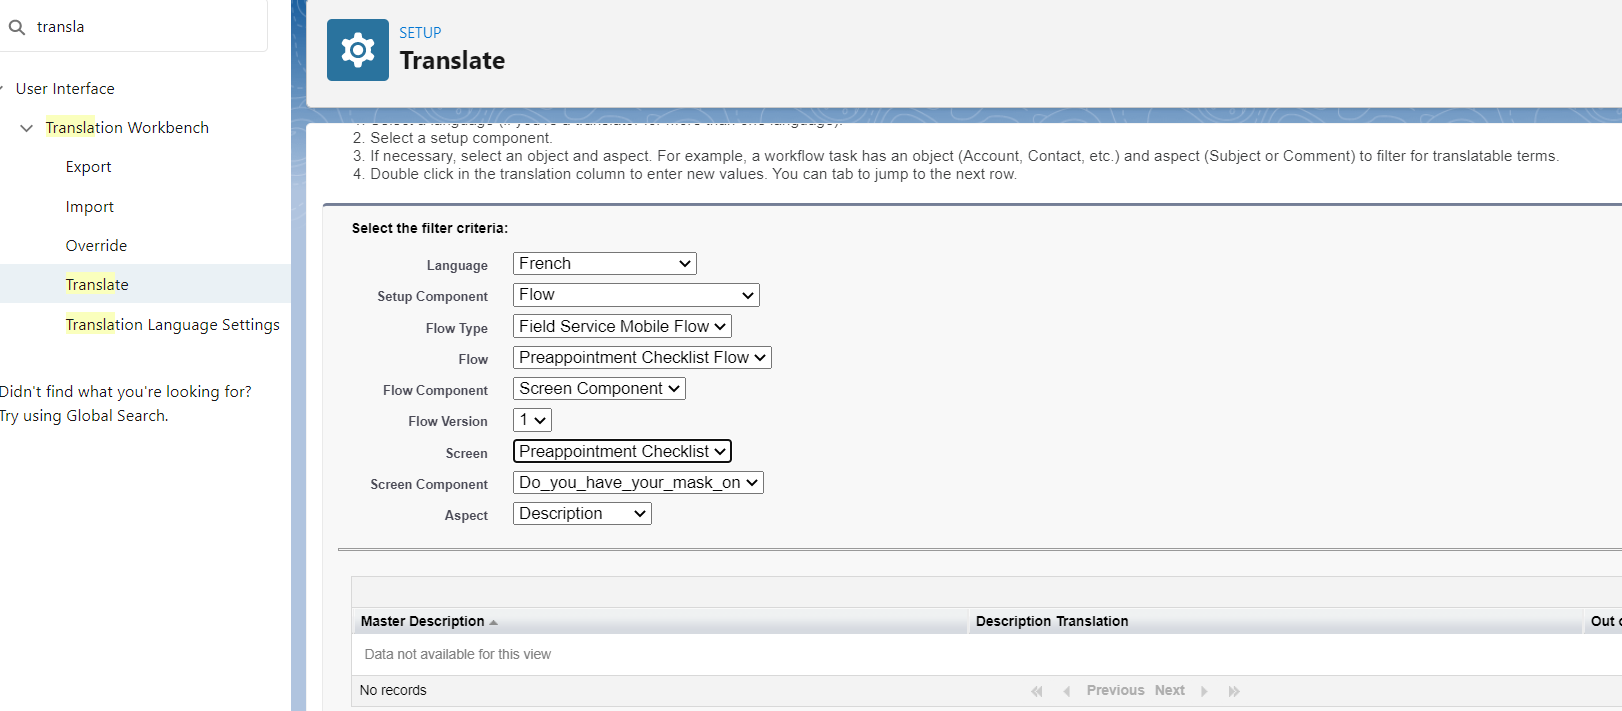
— Even though flow-rich text is in the STF export file, the translation workbench does not accept the import. Remove that failure line in your STF and re-import. And manually translate flow rich text in the following place:
2. If you want to move your translations from org to org, make sure to include Language Translation metadata in your changeset. I am sure sophisticated DevOps tools like Gearset will have metadata components for Language Translation. For example, if you have translated field labels, help text, validation rules, labels used in custom components, etc., include all those components in your changeset PLUS Language Translation metadata component.
It took me a while to figure out what was going wrong with my file format and in general this entire process and how important it is to not mess with the STF file. It is a learning process, and I hope this will be useful for those who need to do this translation process.


0 Comments