Translating CMS content with Salesforce is another area that needs to be factored into your translations if you have used CMS content across your experience cloud implementation. Just as with STF files, translating CMS content is not complex but procedural and in all likelihood should not be handled by business users. You will see why as you follow along.
Step 1: Create a Channel and Select List of Languages. Select the Experience Cloud Site as Your Channel.
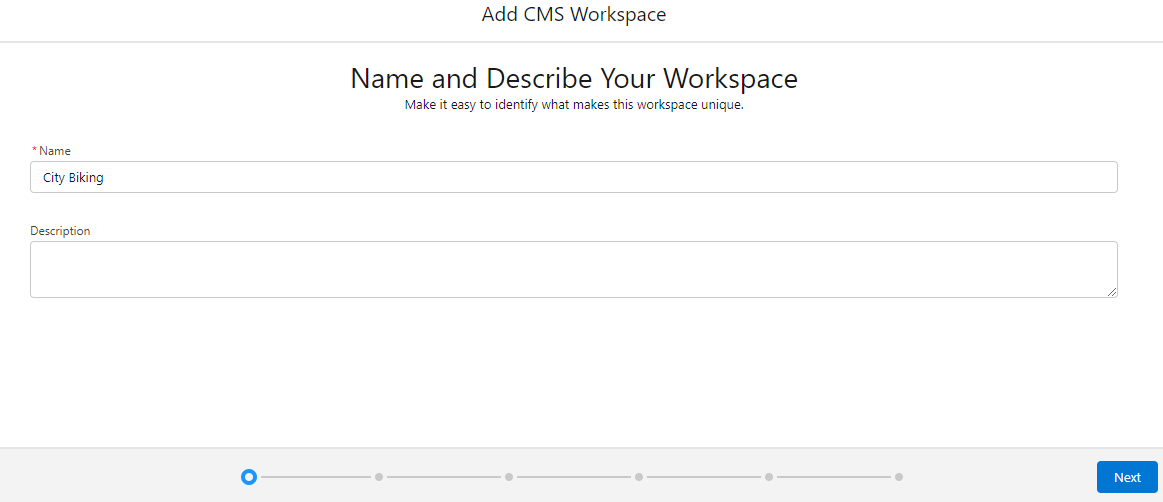
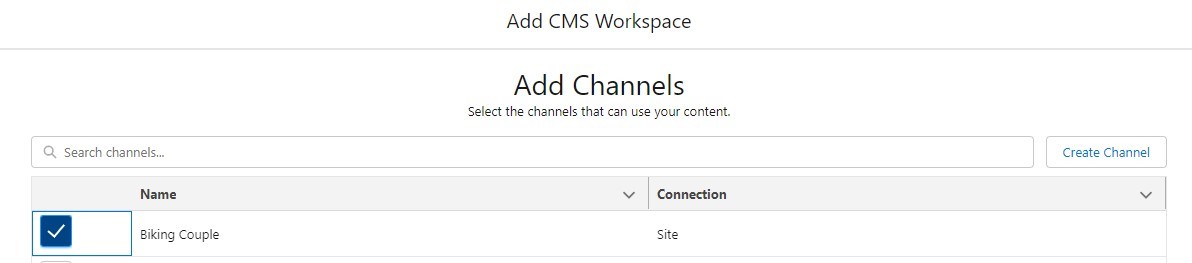

Select languages and also specify the default language and then review everything on the next screen and click Done.
In the screenshots above, I skipped the part where you add your content administrators, managers, etc. Permissions around content are not the intent of this article.
Step 2: Change Content Status from Draft to Ready for Translation.
Once you have created your content (regardless of the type, i.e., news, flex, or image), do not publish them yet. Let them be in Draft mode. Once you have completed drafting your content, hit the button ‘Ready for Translation’.
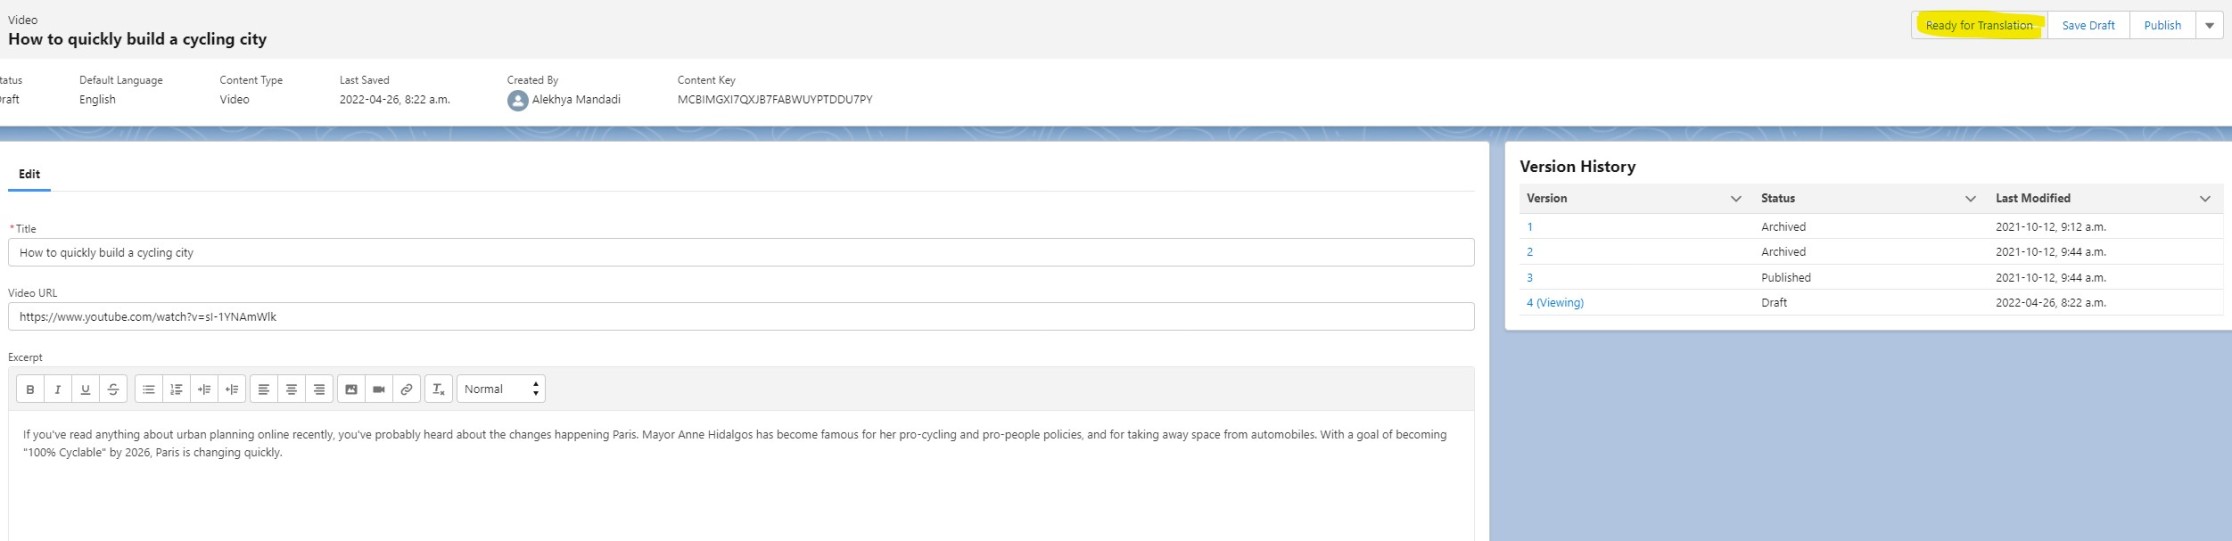
Repeat this step for all your content that needs to be translated.
Step 3: Export for Translation.
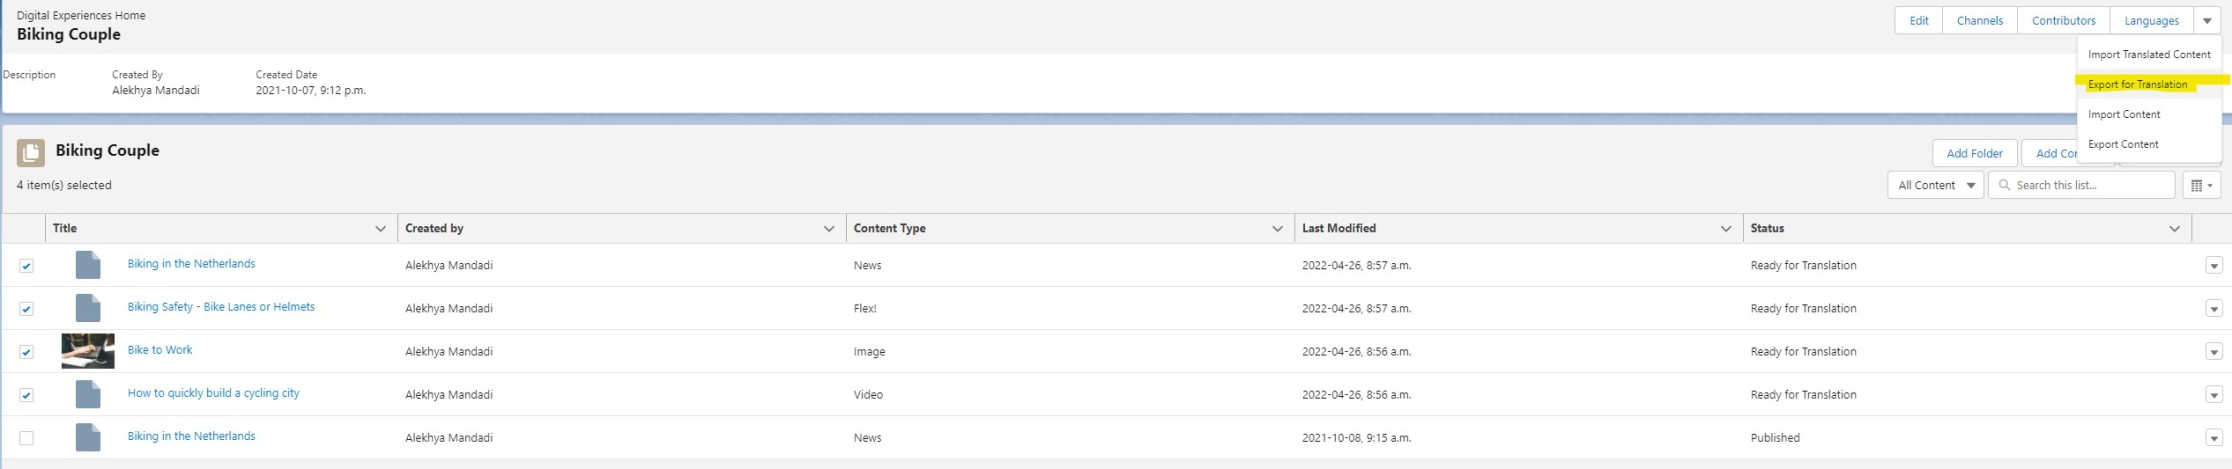
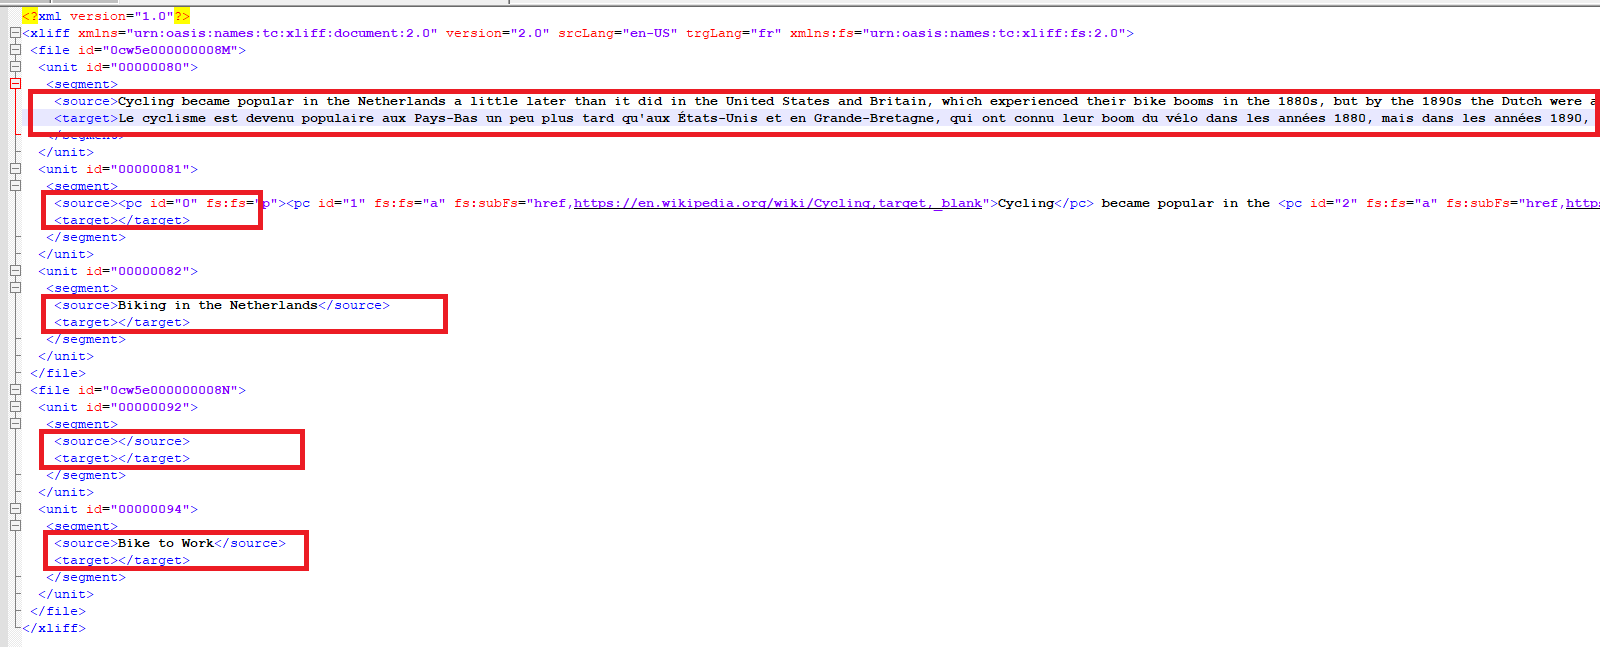
Select all the files that are in ‘Ready for Translation’ and click the button ‘Export for Translation’. Next wait for an email. Clicking on the link in your email downloads a zipped file. Unzip it and open it in your favorite text editor. I’d use Notepad++ for Windows and Sublime for Mac.
Step 4: Add Your Translations.
This is where you probably hand off just the text to your translators and wait for them to give you back the translations. Or you are probably using Google Translations. Either way, once you have the translations, you need to enter the translations in the target portion of this xliff file. For every source, you will notice that there is a target. Ensure that you have filled in all the translations within the target tags of this file without altering anything else. Save the file once you have all your translations.
Once again, zip the folder that contains your modified file. Remember, you are packing it just the way it came when you exported it for translation.
Step 5: Import Your Translations.
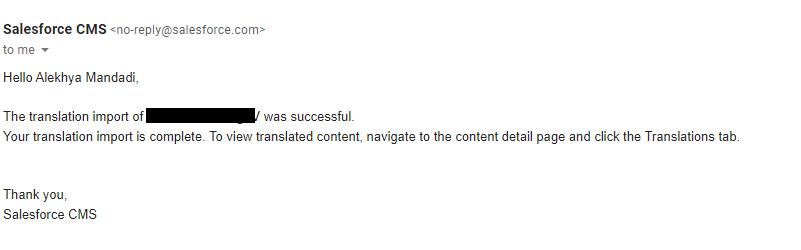
Once you’ve successfully imported your translations, you will receive an email. Celebrate but not so soon! Head over to your content and see your translations in action.
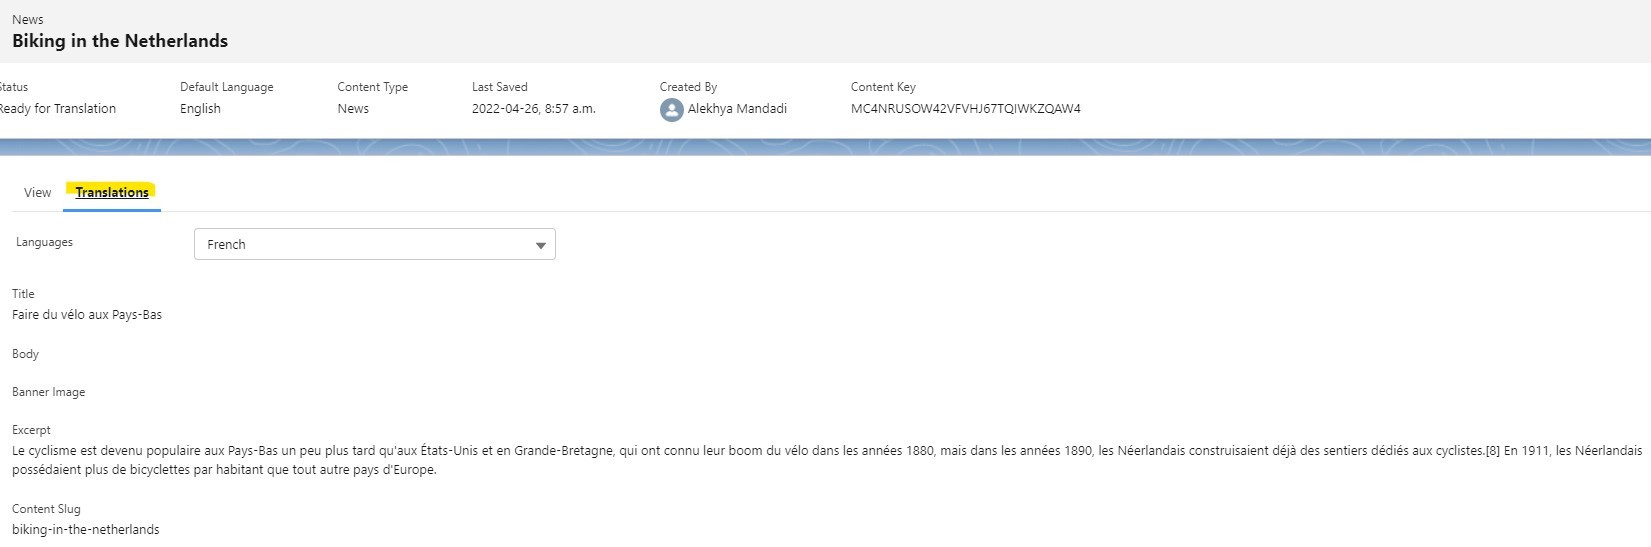
Step 6: Check Your Translations.
Always check your work!! Head over to the content that you translated and see if it’s translated.
Step 7: Publish Your Content.
Go to your individual content and publish it. I know it’s annoying that you need to do it individually, but that’s the only option for now. When you have your content translated, you will see it reflected where ever it is used in your Experience Cloud sites.
Important Notes
1. Deployment: This is something that cannot be deployed using change sets. I am not fully aware if Gearset or other sophisticated tools have metadata that can push from source to destination orgs. So, this would need to be manually done in every org that has CMS content.
2. Multiple Languages: If your workspace has multiple languages, that is, let’s say the languages you chose are more than one (other than the default language), then the zip file that you get will have more than one file. In my example above, I chose French and Dutch with English being the default. So, when you export your content for translation, you will see two files in your zipped folder. Unzip the folder just like you would with a single file in it and open both files with your editor. Follow the same process as you would with a single file.


0 Comments